Two-factor authentication, or 2FA as it's commonly abbreviated, adds an extra step to your basic login procedure. Without 2FA, the password is your single factor of authentication: you enter your username and password, then you're done.
With 2FA, you log in to the Webmail by entering your username and password and the six-digit code provided by an app installed on your smartphone.
1. Enable 2FA for your mailbox
What you need:
- a smartphone with a 2FA App installed (OTP / 2-Step Verification / 2-Factor Authentication), such as Authy or Google Authenticator.
To enable 2FA for your e-mail address:
- Log in to the User Panel
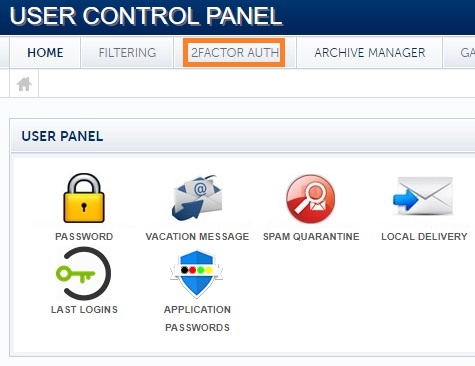
- From the menu, go to 2-Factor Auth
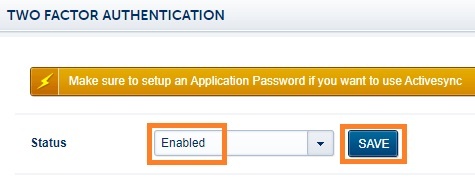
- Update the dropdown Status to Enabled. Click on the Save button.
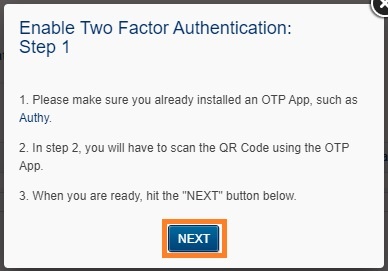
- Recheck the requirements: have a 2FA App installed on your phone, such as Authy or Google Authenticator
- When ready, click on the Next button
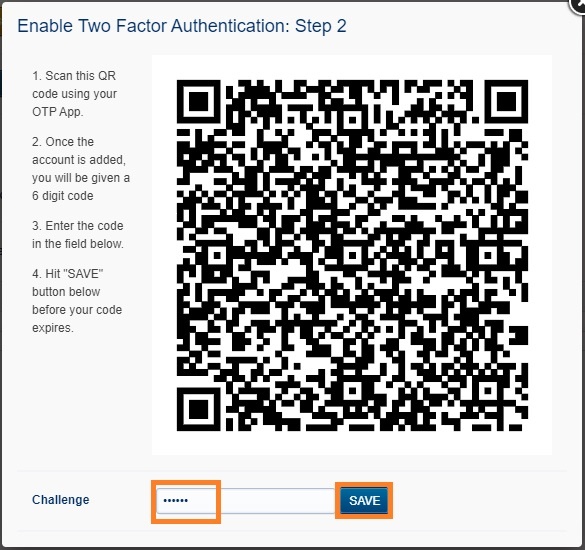
- Scan the QR code with the installed 2FA App and fill in the generated six-digit code in the Challenge input field.
- Click on the Save button before your token expires. It is always better to wait for the app to generate a fresh token, so you have enough time before it expires.
- You have enabled 2FA, and you will be prompted to fill in the token every time you log in using Webmail.
2. Disable 2FA for your mailbox
To disable 2FA for your e-mail address:
- Log in to the User Panel
- From the menu, go to 2-Factor Auth

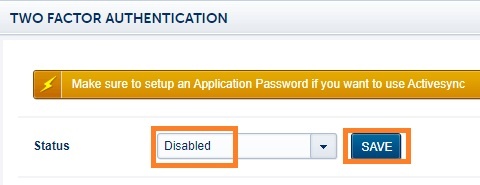
- Update the dropdown Status to Disabled. Click on the Save button.
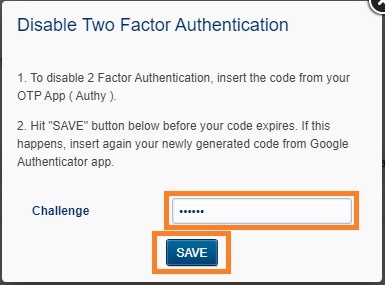
- Insert the token from your 2FA App (such as Authy or Google Authenticator) in the Challenge input field.
- Click on the Save button before the token expires. It is always better to wait for the app to generate a fresh token, so you have enough time before it expires.
- After you see the confirmation message that the 2FA was disabled, you can delete the entry from your 2FA app.
